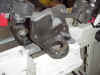
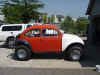
2.25" Balljoint Lift Spindles
Here is a set that Mark has on his rig that were
made by someone else. These gave us the idea on how to go about it.
Here is the entire procedure
to build 2.25" lifted balljoint spindles, the Blind Chicken Racing
way. It really went smooth and mostly hassle free, (broke my band saw
blade on my last fat trimming cut.)
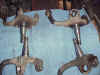
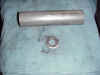

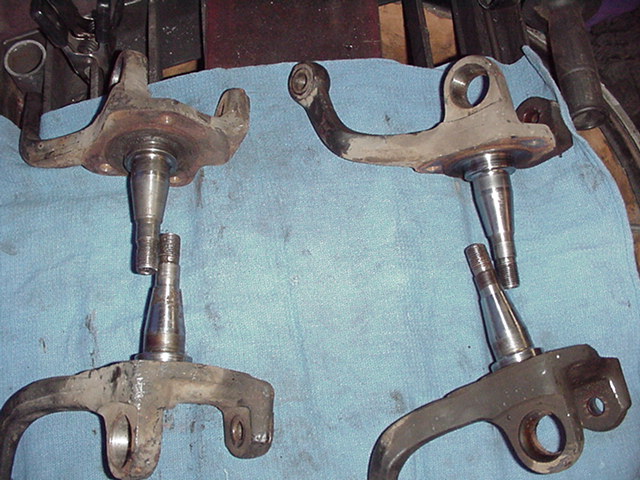
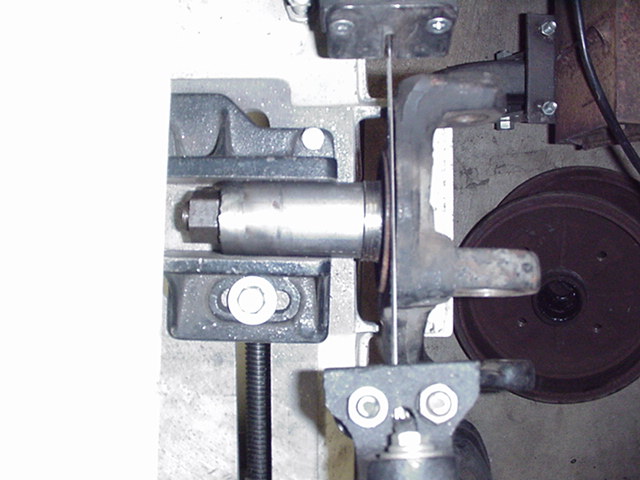
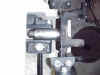
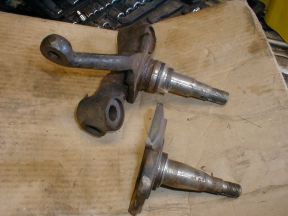
The first thing that I had to do was come up
with a couple of suitable pairs of balljoint spindles. Then with the magic
of camera, I came up with a jig that would give me a solid square surface that
can be clamped into the vice on the horizontal band saw. I welded a stock
spindle bearing keeper washer to the end of the tube so that it keeps the
spindle from rotating inside the tube while cutting. The tube is simply a
piece of .120" wall mild steel tube left over from some other project.

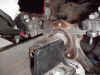
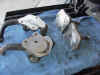

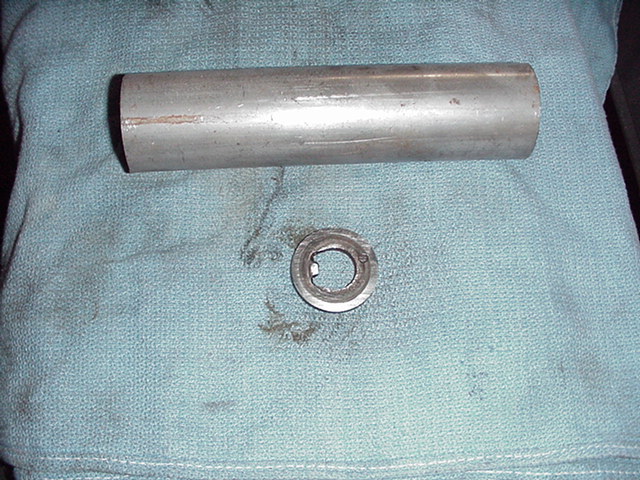
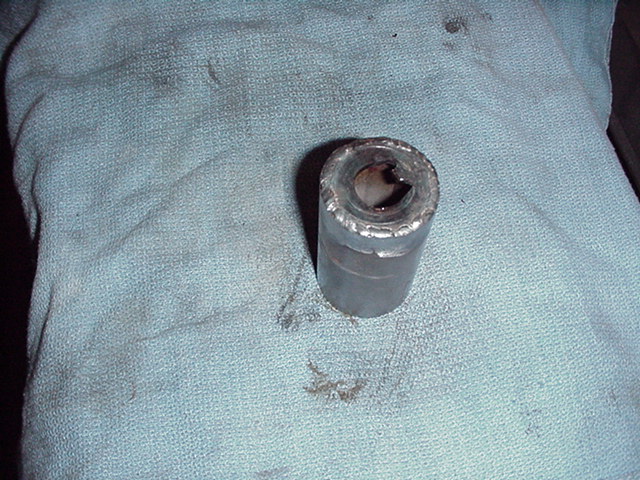
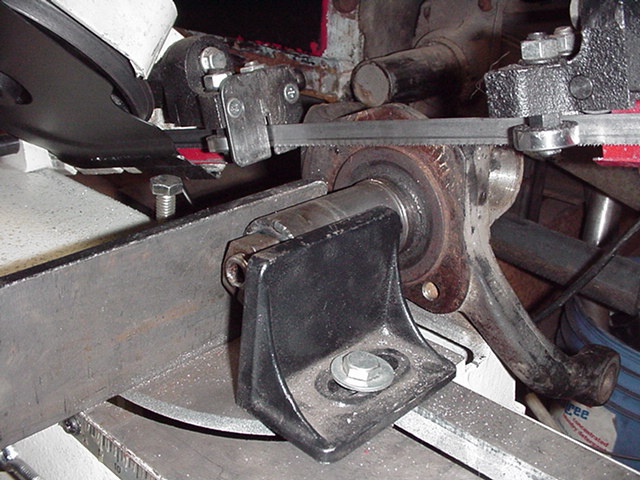
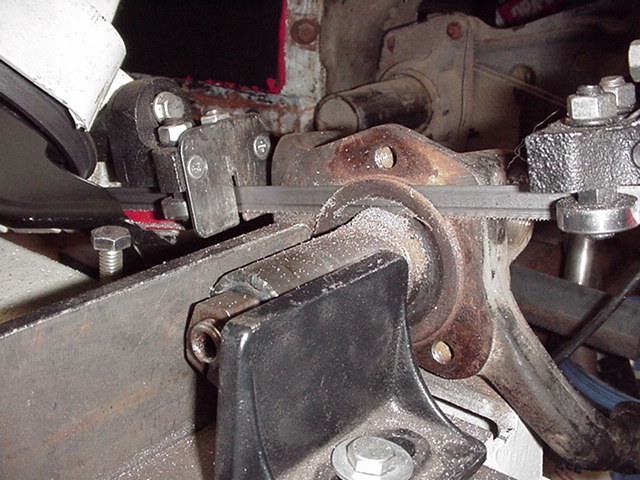
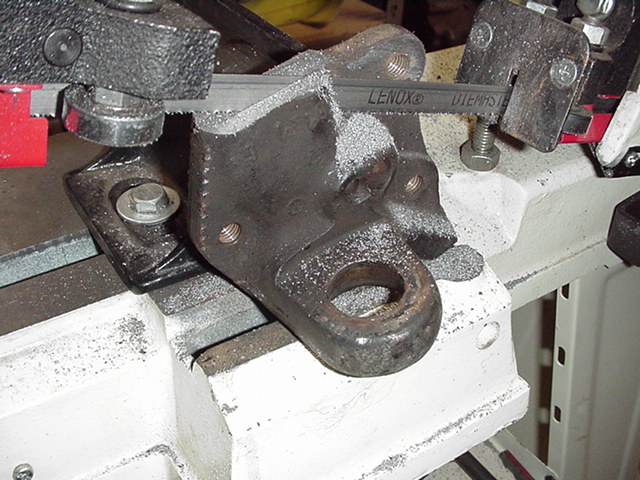
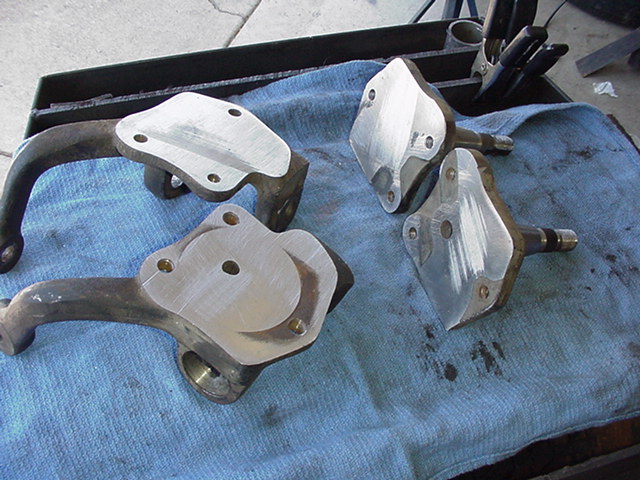
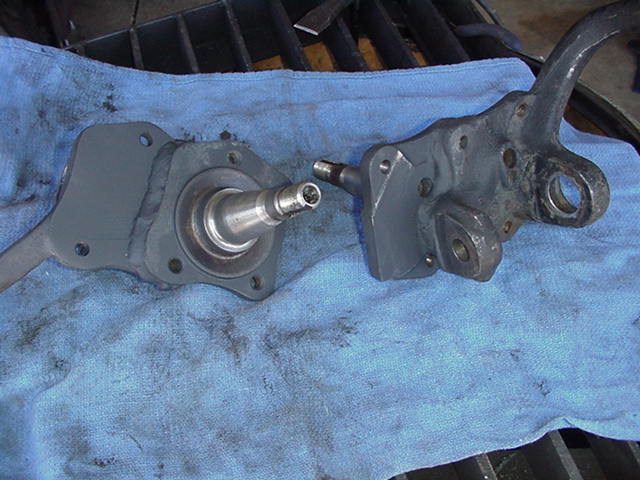
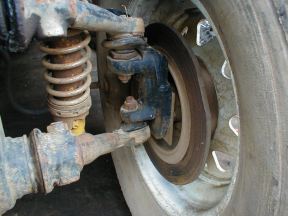
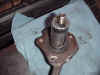
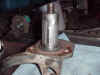
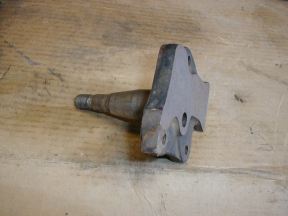
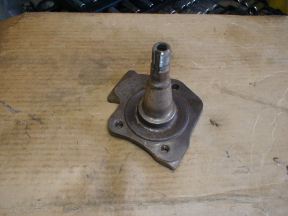
Here is a set of close up pics of the actual
cutting required to give me the final pieces to weld together. On one set
of spindles you need to cut the spindle itself off as close to the backing plate
as possible, and as smooth as you can. The other set need to have
balljoint mount, and steering arm cut off, leaving you with a spindle and the
just a back. You can hit the grinder to edges if you like to give them a
taper where the weld will be, so you can get the deepest weld possible. I
was able to weld these in one pass with a Miller 180 MIG. Some models of
welders would require at least 2 passes to get a thorough weld.
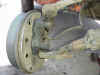

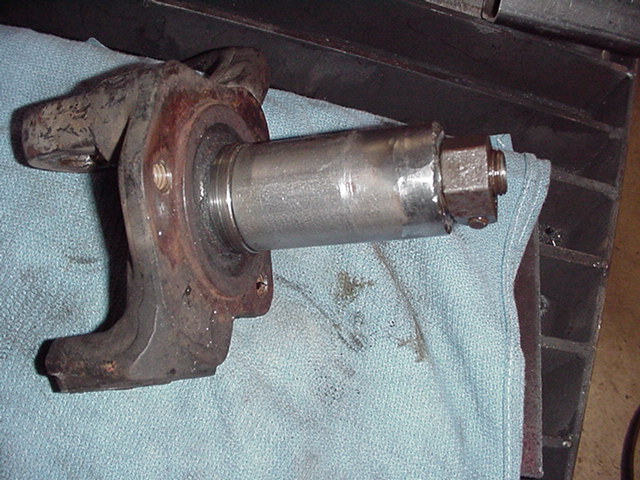
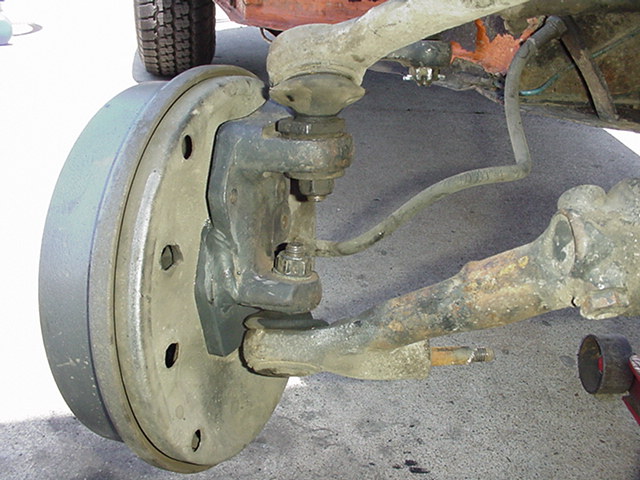
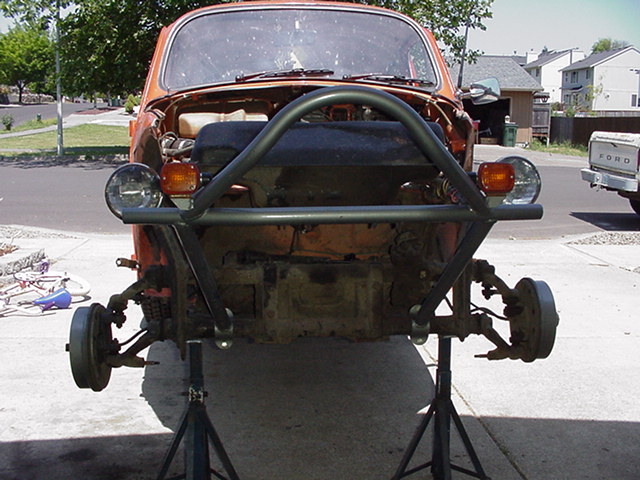
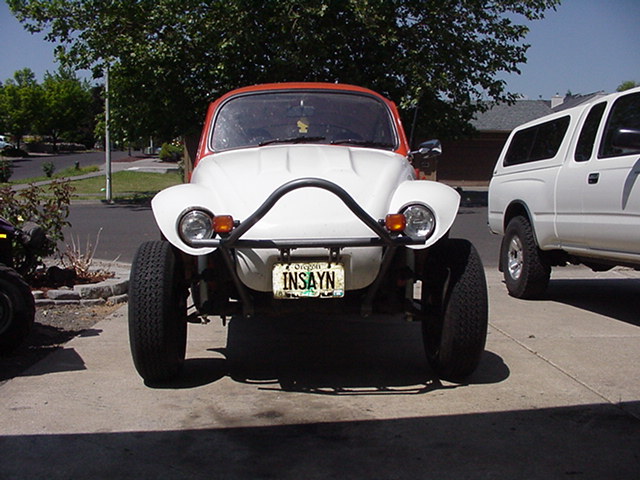
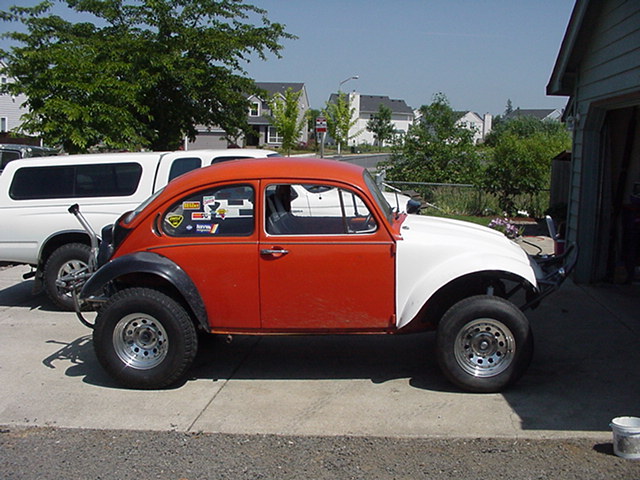
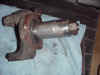
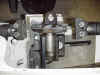
Here is what they look like as I installed them on
the orange baja. For your viewing pleasure I took a pic of the passenger
side installed, and the drivers not yet.
Completed
lift spindles are available. Click here
for more info.
Note:
Van der Jeught Bert, in Belgium
found his way to our "How To" section, and used some of our techniques
to inspire him to make a set of lowered spindles for his VW Type 3. If you
would like to see how he went about it, click
here.
2" Kingpin Lift with Balljoint Spindles
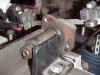
The first step is to cut the back off of a good balljoint spindle and cut off
the steering arms. I leave about 3/8" material on the spindle and cut
it as flat as I can so the surface is perpendicular to the spindle. It
makes it easier to weld on to the kingpin back if it is flat and square.
Otherwise you have to align everything first to get it close to square.
After the ball joint spindle is cleaned up, cut the kingpin spindle off flush
with the backing. Cut only the spindle as you will need the backing to
weld the modified ball joint spindle to it.
Select how much of a lift you want by placing the BJ spindle in place and
tack welding it. Make sure you have enough overlap to make a strong
weld. The more the lift, the more stress there will be on the spindle and
the more likely it will break. Besides with a kingpin front suspension it
does not need a lot of lift if the stops are gone.
Assemble the front suspension and attach the arms to the spindle and check
for clearance on the newly attached piece. Make sure that you can assemble
and disassemble the front suspension and that the BJ backing does not hamper
steering. After checking, disassemble the front end again and weld up the
spindle. Make sure to give it a good hot weld, grind it and weld it again
to get maximum penetration and no gaps in the welds. Remember the stronger
the better on this part.