Widened Kingpin Beam
Home Up Products Projects Events Photo Album Other Fabrication Our Shop Tools Our Other Toys Product Reviews For Sale Links Guest Book Contact Us

Home
Up


frontbeam006.JPG (106052 bytes)frontbeam007.JPG (98885 bytes)frontbeam008.JPG (91831 bytes)frontbeam009.JPG (104912 bytes)frontbeam010.JPG (88633 bytes)frontbeam012.JPG (81992 bytes)frontbeam013.JPG (79483 bytes)

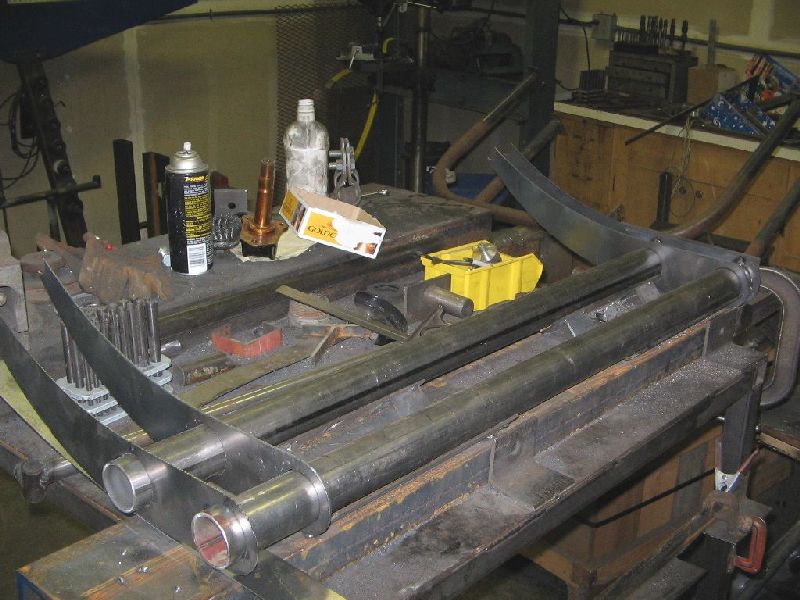
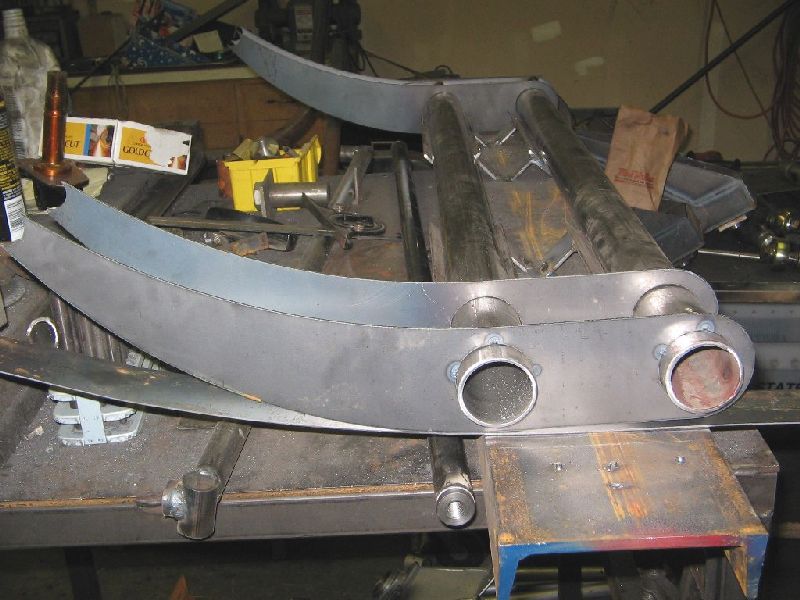
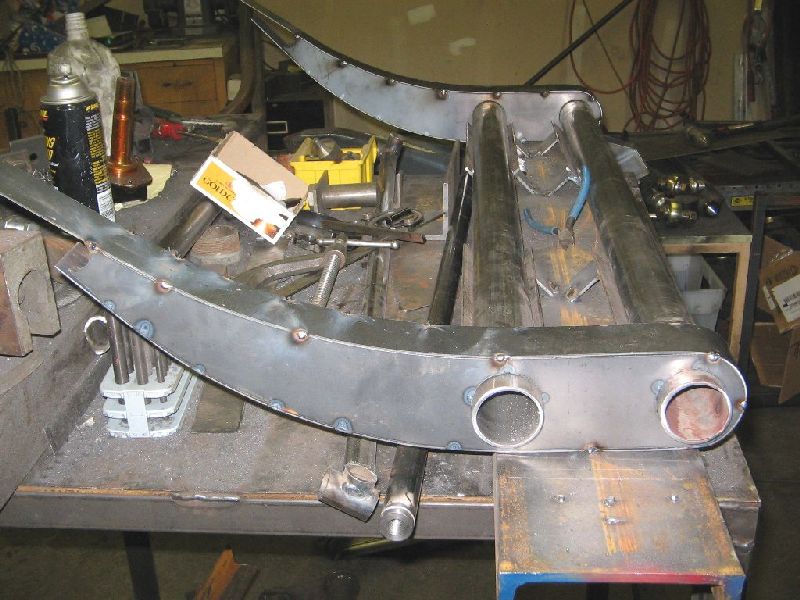
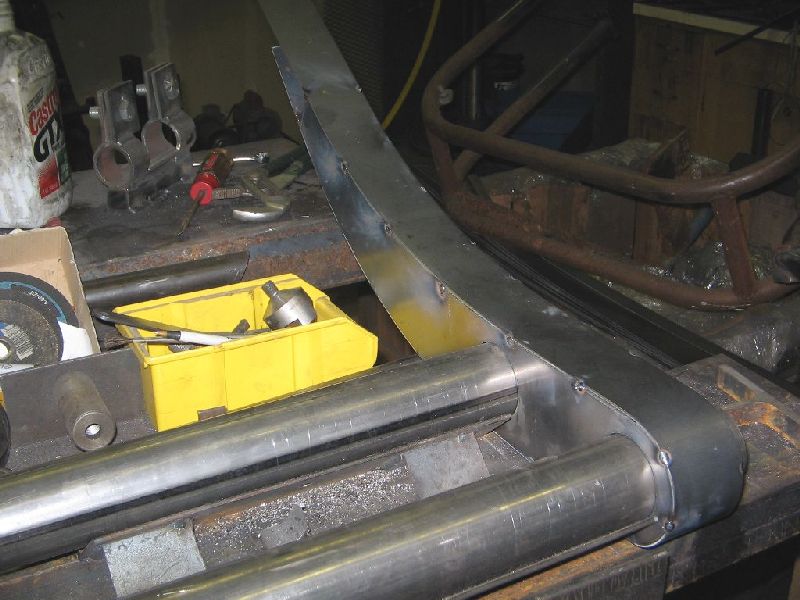
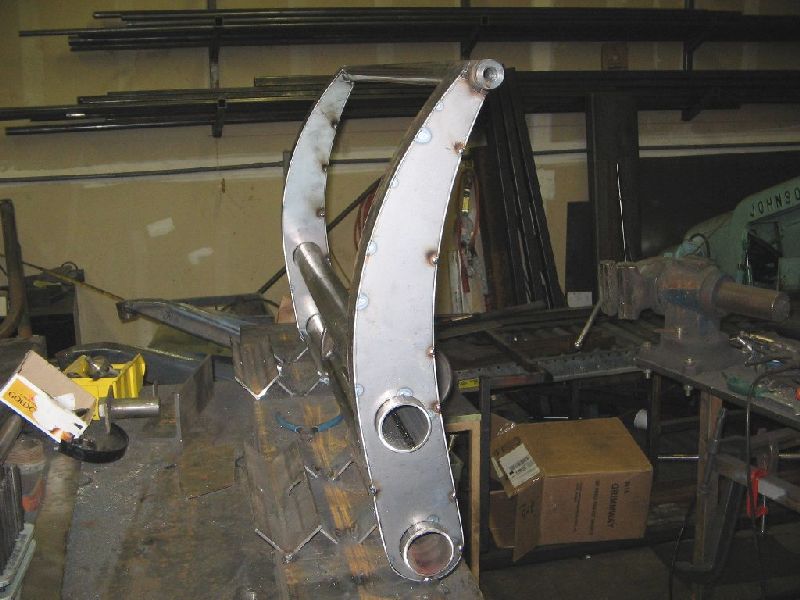
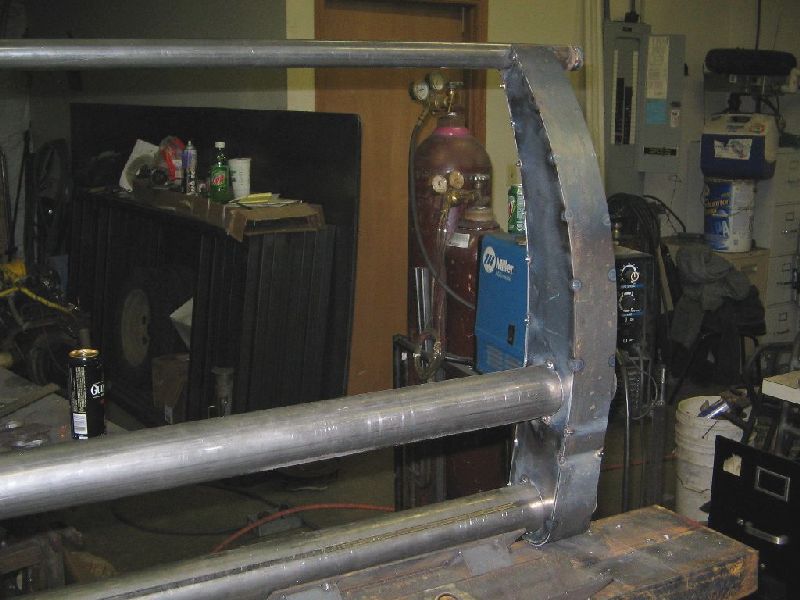
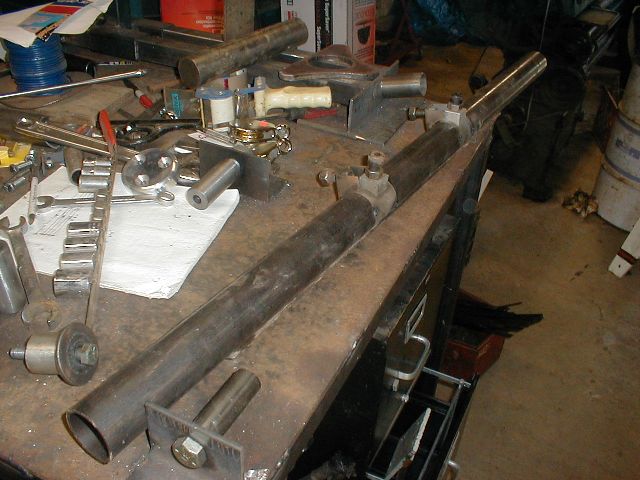
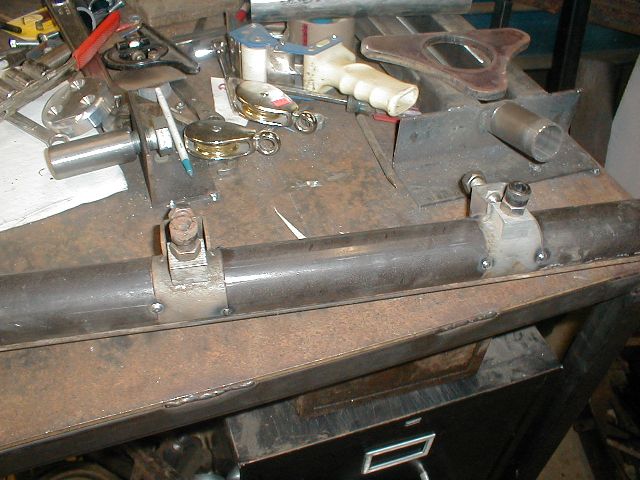
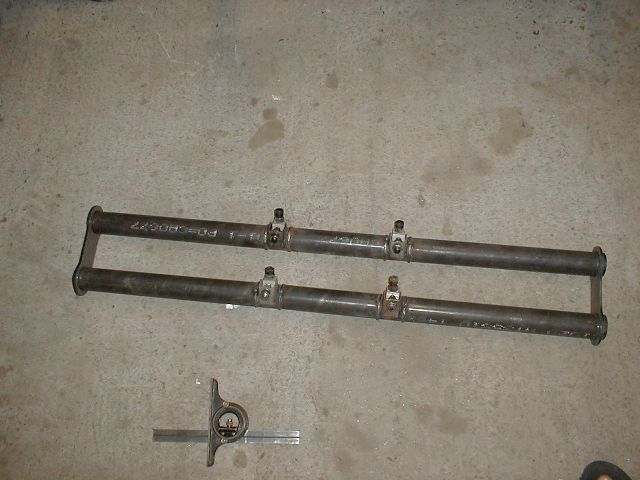
After doing some measuring and messing up a whole stack of napkins with drawings, I decided to create what I thought was a cool beam design.  The idea was to have a wider beam with shock towers that could accomodate coil-overs without looking like an add-on or afterthought.  I thought the swept back look was nice so to the plasma cutter I went.  The towers are made of CNC cut 14ga steel set two inches apart and filled in with a strip of 16ga steel.  The tubes are 2" .120 wall HREW tubing that will accept the urethane bushings made for the aluminum beam.  The top bar is 1" .120 wall tubing with 1/2" threaded inserts in them for the upper shock mount.

frontbeam001.JPG (86254 bytes)frontbeam002.JPG (102024 bytes)

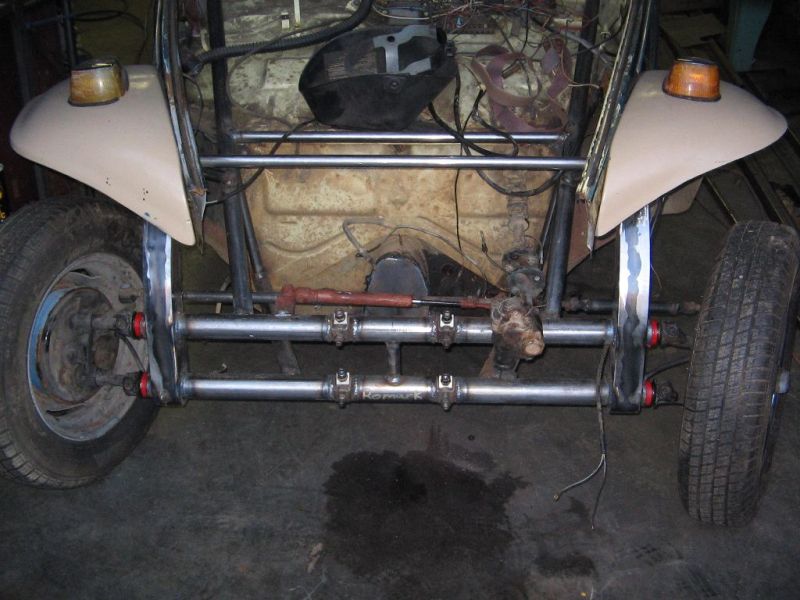
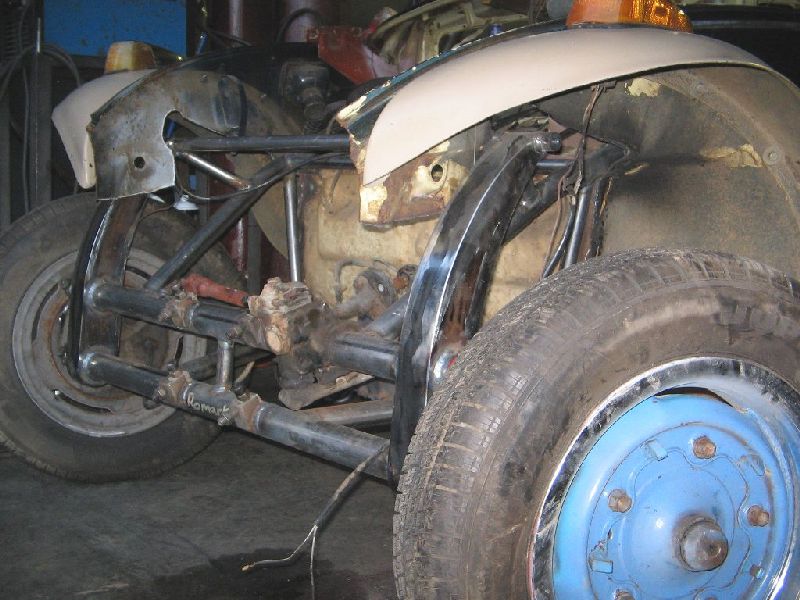
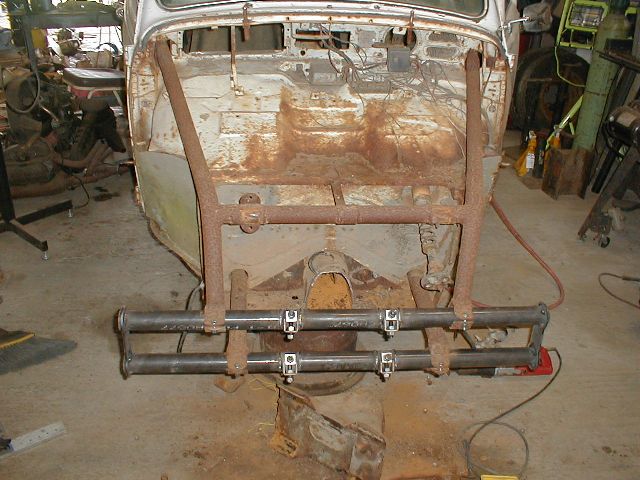
Installing the first 6" wider beam on a car with a seven piece baja kit showed the tires were placed right along the edge of the fender.  I thought the fit was excellent and kept the car street legal without modifying the fenders.  The stance of the front is wider and looks great.  The beam on this car was pushed out four inches to allow for some longer/wider trailing arms later on.


***Original widened beam

In considering the buildup of the white baja I have decided that I needed to have a wider front kingpin beam.  I looked at the Warrior beam from Latest Rage but buying one of those would go against all I stand for.  Besides I have all this tubing and a bit of time so off to the welder I go.


I decided on a ten inch wider beam with four adjusters.  I spaced the adjusters to use shortened stock springs.  I simply measured a stock beam from center to outside face to decide the spacing of the adjusters and added 10" to the middle.  After hunting around for two full sets of springs I realized had I simply made the adjusters 1" farter away from center I could have used a single spring pack and just drilled new dimples.  Oh well, maybe next time.

The tubes were laid out in a long piece of 3" angle and clamped in place to keep it all straight.  I then welded in the laser cut end pieces from Oregon Motorsports making sure to set the adjusters so with the adjuster at max drop it was just below where the stock spring mount was.  The adjustment is pretty big on those things and it takes so little to make a huge difference I figured that it did not need any built in twist, that the adjusters would give me all I need.  Guess I will find out when I try to use it.

I bolted the beam onto the front of the white baja (after cutting away all the excess crap) and took a look at how it lines up.  It really is a whole lot wider.  I will have to watch for trees when I am in the woods.

I picked up a set of urethane bushings for the ends but after installing them found I had to use an adjustable reamer to get the trailing arms to fit in there.   The tubing I used compressed the bushings just enough that they would not fit.


To be continued...

For problems or questions regarding this web contact .
Last updated: February 27, 2014.

All content on this website belongs Blind Chicken Racing and it's employees.  All use without prior permission is expressly forbidden.  Violators will be prosecuted.