The other day I had taken one of my shocks off and noticed it was acting like
it had some air in it (not smooth). So I figured it was time for an oil change
and seal kit. This is really quite an easy job, yet, I still see guys taking
them to shops to have it done. This is really one of those things that anyone
can do with just a little instruction. Oddly enough...I looked around the web
and really did not find a basic step by step of a simple seal replacement...so I
figured I might as well take a couple of pictures while I am doing this, I hope
it will help someone out if they need it some day.
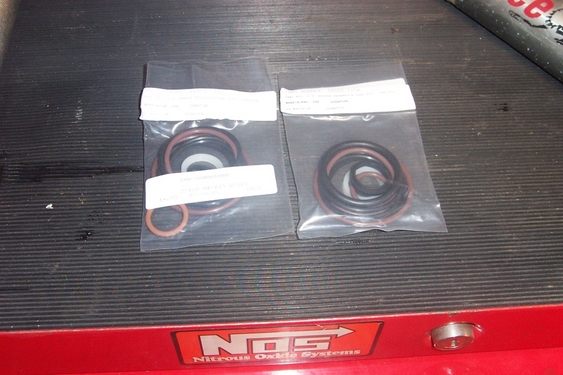
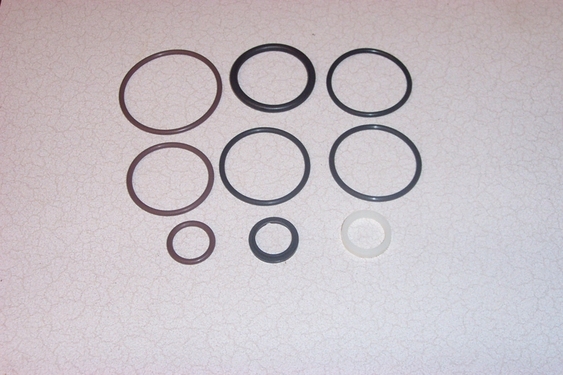
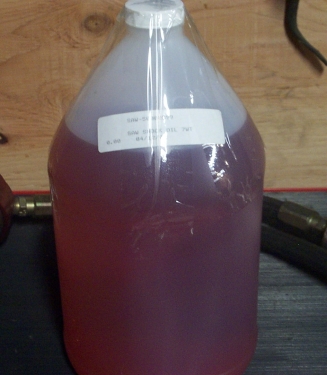
This is what comes when you order two seal kits from Sway-a-way, they are about
ten bucks for each.
Before you even think about pulling anything apart, it is important that you let
all the nitrogen out of the reservoir. Pay attention when you do this...it is at
200 PSI in Sway-a-ways and I think 220 in Kings.
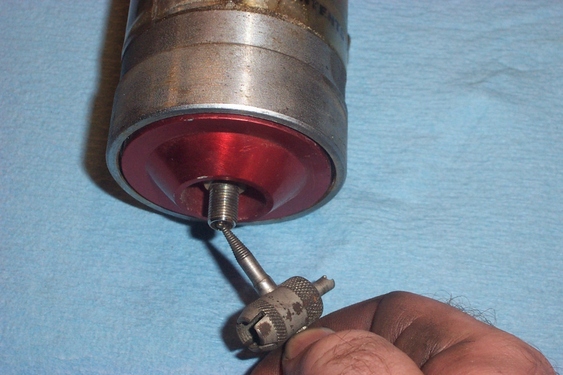
Now that it's not a time bomb waiting to fill you shop full of oil at a high
rate a speed, you can start to take it apart. I started with the reservoir
first. Since there is no pressure in it any longer, you can just push in the
Schrader cap assembly with your fingers.
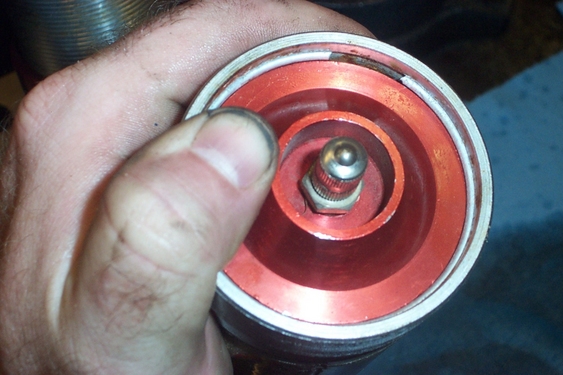
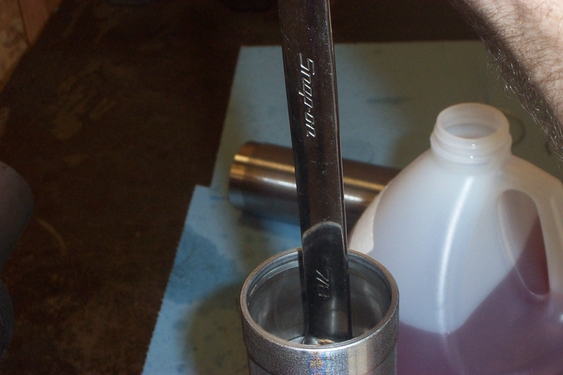
Once it is down far enough for you to remove the clip easily, get a small screw
driver or a pick and it will come right out.
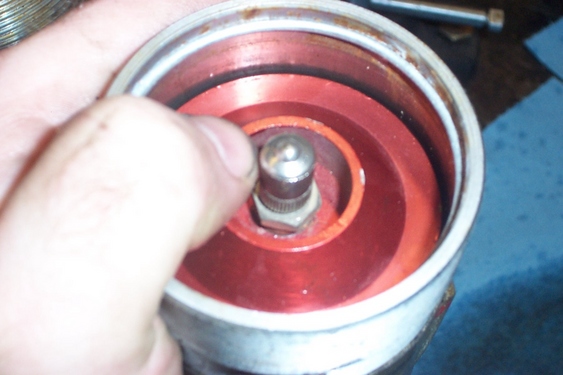
Once the clip is removed the Schrader valve assembly will come right out. If it
seems too tight to get out by hand, you can put pliers on the Schrader valve and
pull it out. Just be sure you put the cap on the valve before you go at it with
the pliers. Otherwise you will booger up the threads.
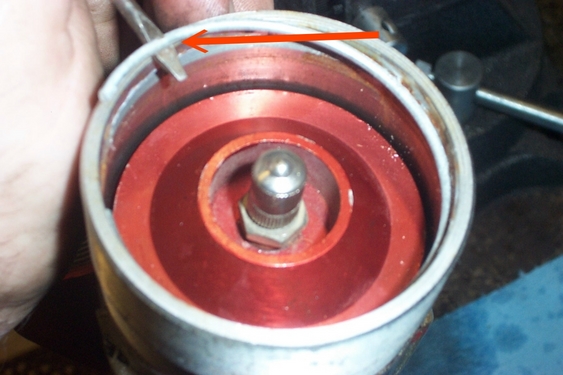
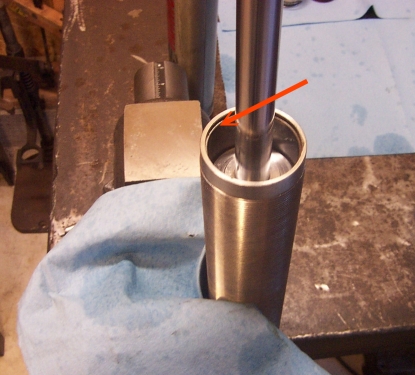
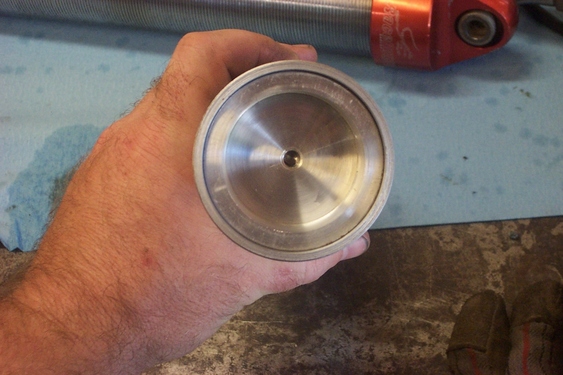
Once you have that removed, you can look down in the tube...If you see this, you
have a problem, there should be NO oil in here. This mean you have blown a seal,
and you better take care of it, because that's illegal in some states.
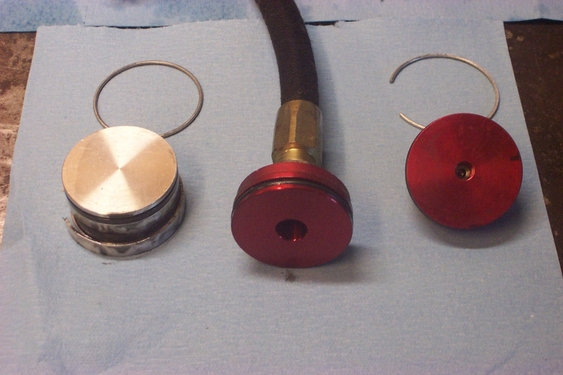
This is a picture of the entire contents of the reservoir tube...Not much to it
really.
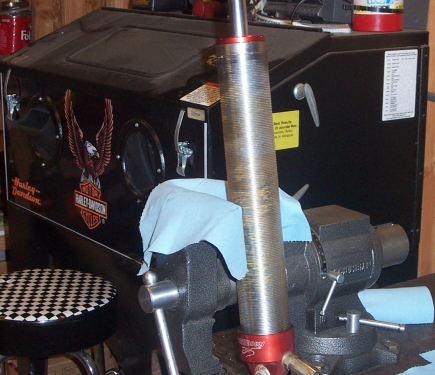
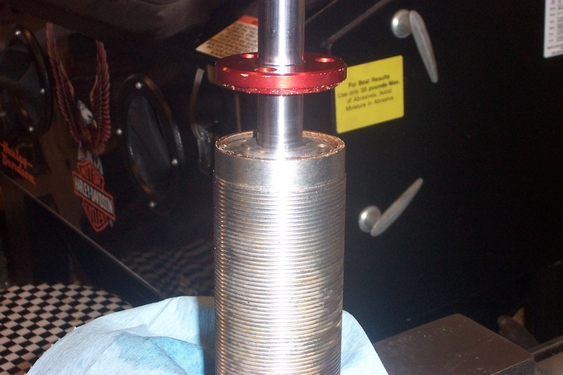
Now that's apart, pull the shock itself down. Put the shock body in a vice. Be
sure and use soft jaws and do not get carried away when tightening it. I use
soft jaws and a rag/towel. This does two things...It is easier on the shock body
AND will catch some of the oil that will spill when you pull out the piston.
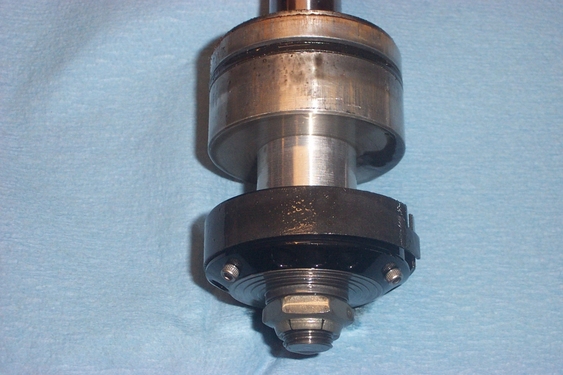
Once it's secure, take the three bolts (or equivalent) out of the dust cap/seal.
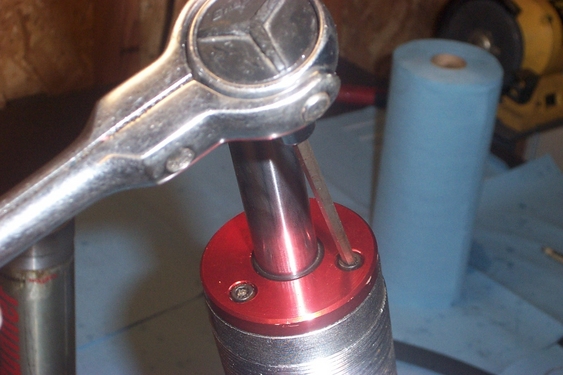
Once that is out of the way, you will be able to see the piston. Slide it down a
little and remove the clip just like you did in the reservoir.
Now slowly pull the shaft and piston out of the shock body. You will probably
spill a little oil no matter how careful you are, but you can cut it down a
little by taking your time.
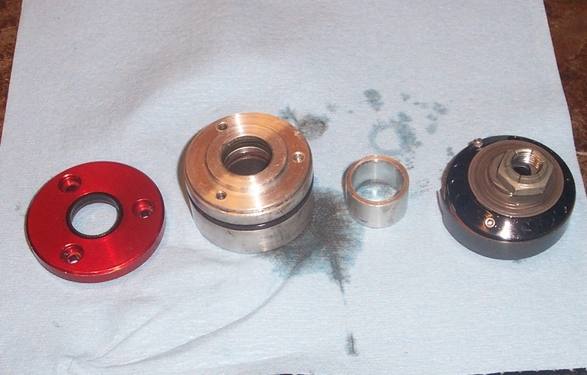
This is what it looks like when you have it out.
Much like the contents of the reservoir...there really is not much to the guts
of a shock either. Now if we were revalving..there are many more parts to deal
with, but that is a whole other thread.
I now have the shock and the reservoir torn down to just two metal tubes. Time
to clean and re-seal. I like to give everything a good scrub in hot water with
dish washing soap. This makes sure you are not putting it back together full of
sand and dirt. For those of you that have not done this a thousand times. It
might be a good idea to wash and re-seal each piece one at a time. That way you
can match up your new seals with the old. Lay out the package of new and it will
be easy to see which one you need as you need it..
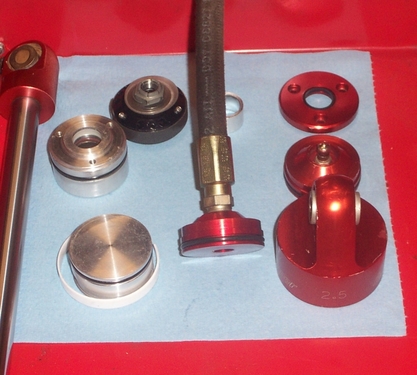
When done cleaning and putting the new o-rings on each piece, I like to put them
in a different area than I am working (also see...clean).
Well...it's time to start putting it back together, easy huh? There are a couple
of things that are important during reassembly, but non of them are difficult.
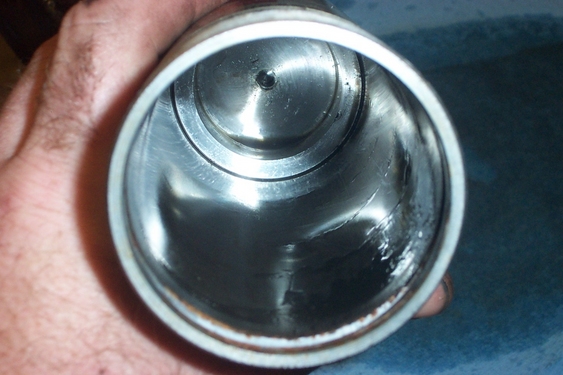
Lets start with the reservoir. The little floater piston that you removed,
cleaned and o-ringed needs to go back in and it is VERY important that it be set
at a certain depth.
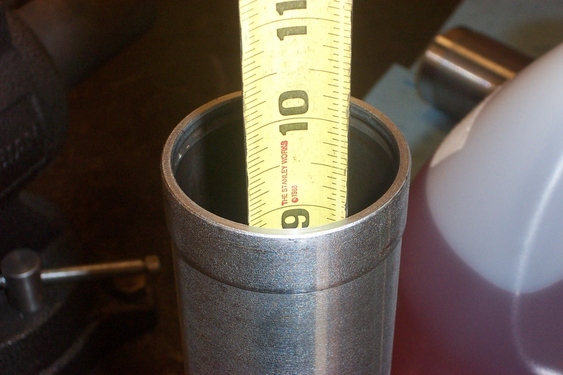
For a 12 inch reservoir, the highest point of the piston should be 9 inches from
the rim of the tube.
If you are dealing with a 6 inch reservoir you would set this at 3.25 inches.
Once that is set, reinstall your ends, your clips and call the reservoir done.
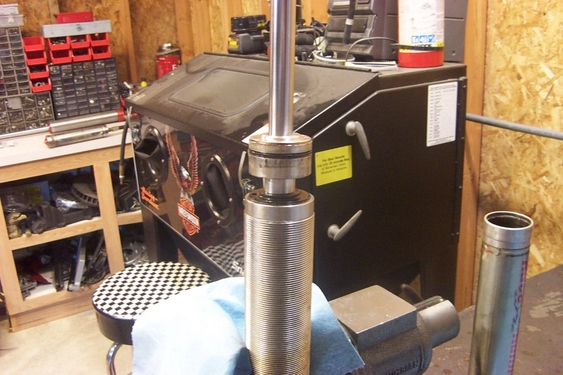
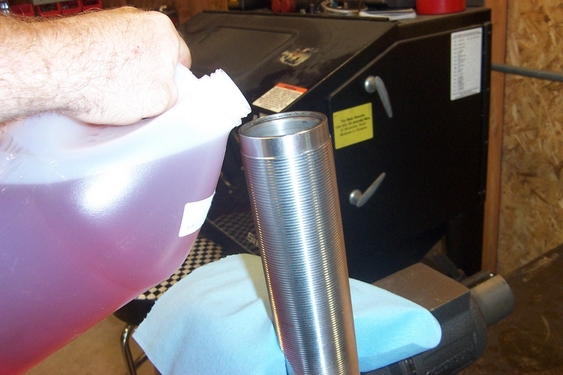
With the shock body in the vice, the reservoir hanging low, it is time to fill
the shock with oil.
You want the oil to come up to one inch short of the clip groove. The idea
behind having the reservoir hanging low is that the air that is trapped in it
and the hose will just bubble to the top as you pour.
It's time to put your fresh o-ringed piston back into the shock body. At first,
just push it in far enough so you can get the clip re-installed. once your clip
is in, fasten your dust cover back on with the three bolts. Now run the shaft
it's full range. This will tell you whether or not you screwed up on your
floating piston height in the reservoir or if there is any air trapped.
If that comes out the way you wanted...then all that is left to do is refill the
reservoir with 200 psi of nitrogen. I have my own bottle, but for those of you
that don't, any welding supply store can do it for you, for a very minimal cost.
That's it...you're done.
-Scott the Viking