2.3 Ford Install
Home Up Products Projects Events Photo Album Other Fabrication Our Shop Tools Our Other Toys Product Reviews For Sale Links Guest Book Contact Us

Home
Up


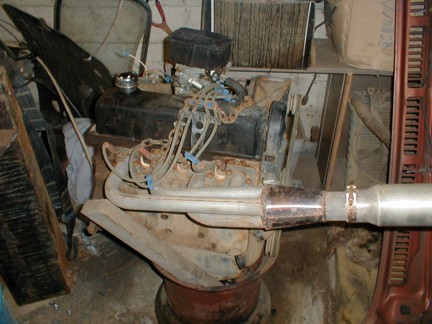
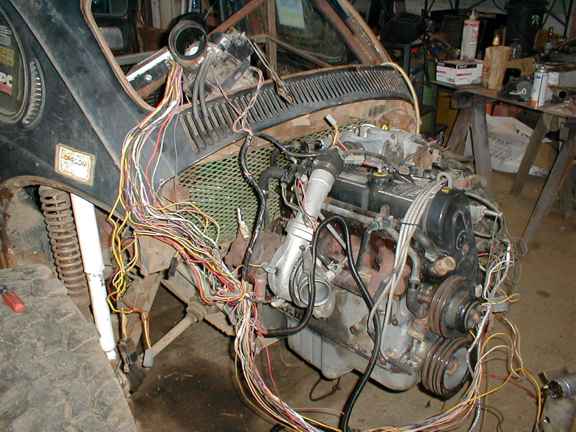
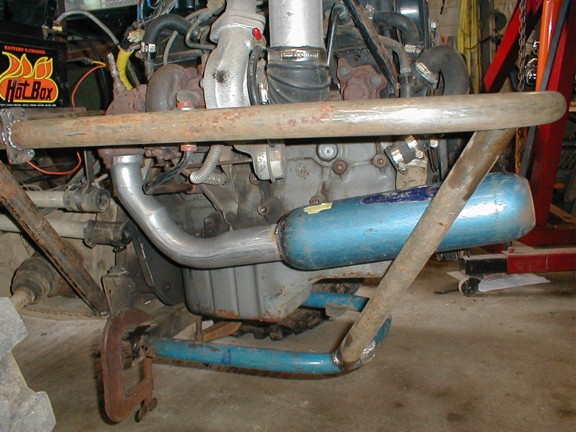
In the quest for more power I have run several kinds of motors.  I have had a few bug motors, a corvair and a couple water pumpers.  The simplest and cheapest so far is the 2.3 liter ford four cylinder.  I have been running a pinto for a couple years now and am in the process of installing a 1986 Turbo Coupe T-Bird engine.  Since I have already had a pinto engine in the car some of the steps have already been done.  -MJ

The first step was to get an engine.  My first engine came out of a '81 Pinto with 45K miles on it.  It had a Holley 350 carb and a custom header that I built with a Supertrapp spark arrestor.  


pinto.jpg (45653 bytes)
As with most engines that see hard use this one started knocking and banging and making all kinds of strange noises.  It has since been yanked out for a better motor.For those that are interested the wiring for the stock non-EFI ignition is included in the drawing below.

duraspark.jpg (207129 bytes)
Duraspark wiring diagram


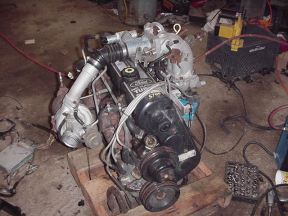
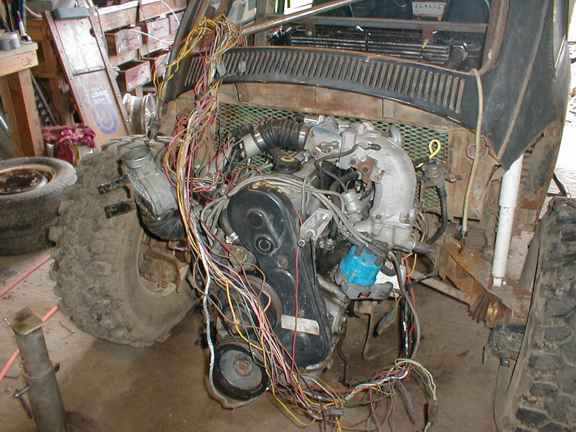
Out with the old, and in with the new!!


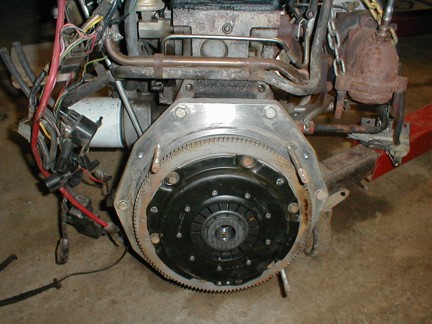
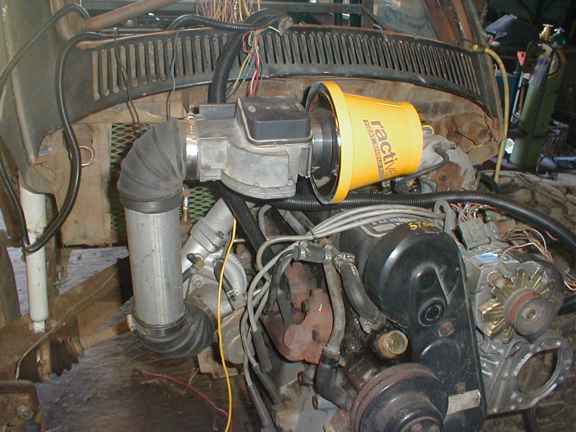
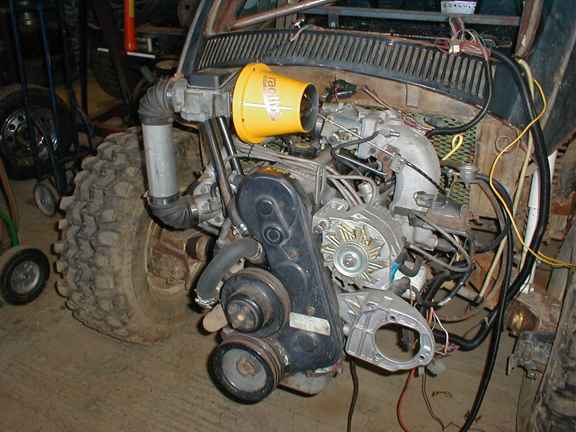
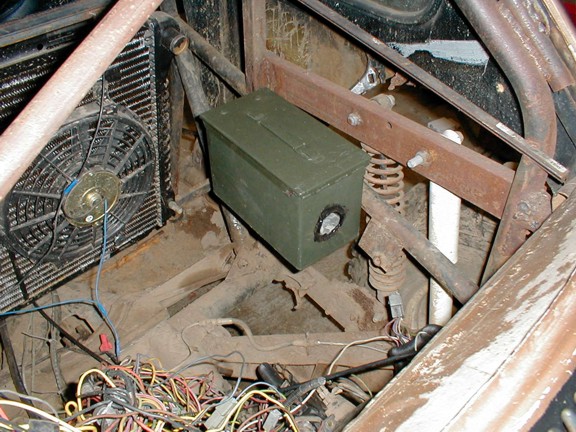
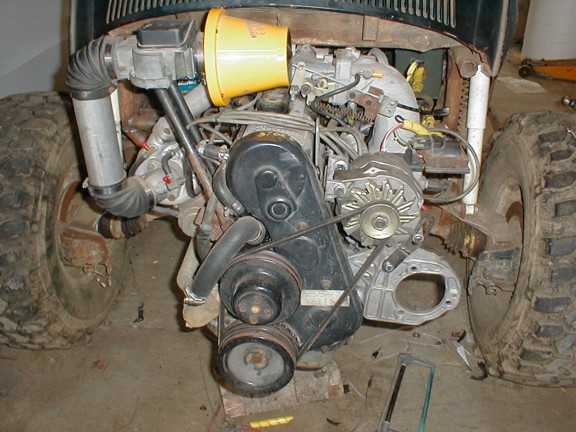
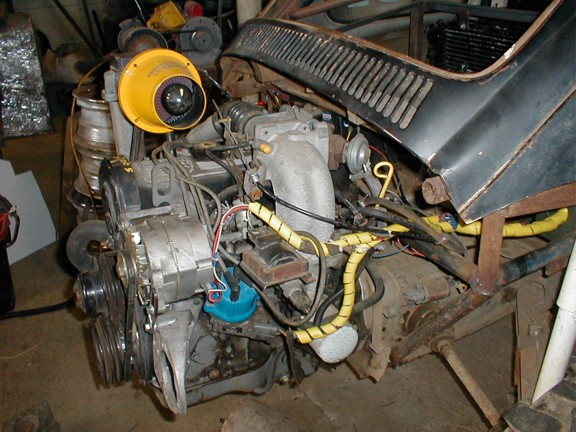
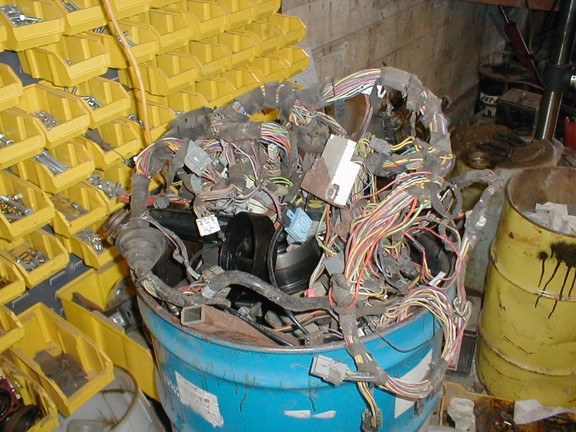
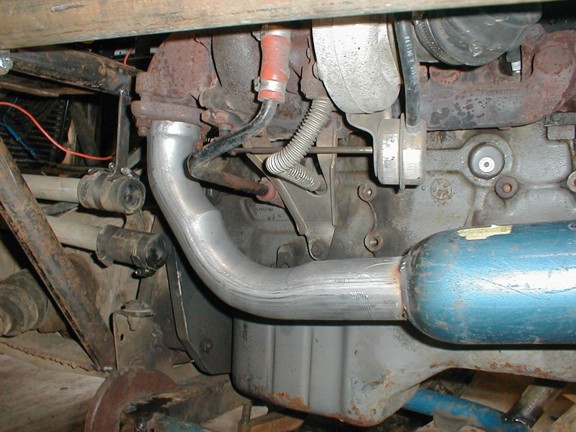
One day while minding my own business I came across a rolled t-bird with a newly rebuilt engine.  It was well on it's way to becoming one with the tree it was sitting next to so I knocked on the door and offered to tow it away for $50.00 (you gotta start somewhere).  I ended up paying $100.00 and a short case of some nasty beer (I think it was Hamms).  I drug the thing home and stripped out the engine and the entire wiring harness and everything it was connected to.  I did not know what I needed for the Fuel Injection so I took it all.

I cleaned up the engine and installed the Esslinger Engineering adaptor that I had.  The adaptor came with all of the hardware and installation instructions.  The kit was very complete, and all the parts had a very good fit and finish.  A friend has the Kennedy adaptor and it too is a good kit but for the Ford engines Esslinger kit is much cheaper.

I also installed a Kennedy 2100# pressure plate and super disk.  I found that the stock clutch did not last long against the Pinto engine, so for the turbo I knew I needed to step up a notch.

newturbomotor.jpg (17161 bytes)   tbirdadaptor.jpg (49385 bytes)
After aligning the clutch with a bug alignment tool the motor was ready to be bolted in.  The adaptor bolts up the the transaxle just like a bug motor.


bc1fuelpump6.jpg (27117 bytes)  bc1fuelpump.jpg (21225 bytes)
The next step was to get a fuel pump that would handle at least 39psi (according to the shop manual).  I picked up a rotary fuel pump from a fuel injected BMW that looked like it would fit the bill.  It came with a convenient bracket with the fuel filter attached.  My fuel tank is mounted in the front so the pump got installed directly under it with the fuel filter mounted on that.

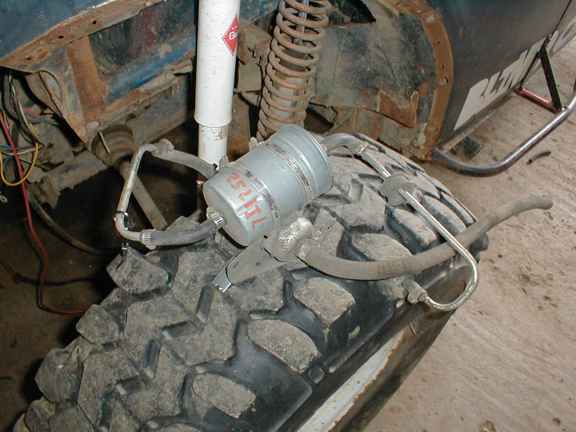
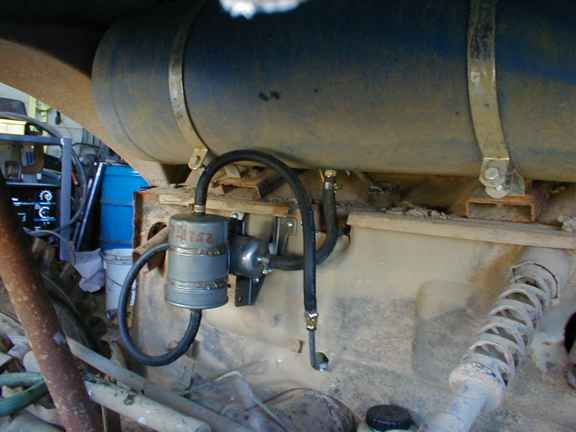
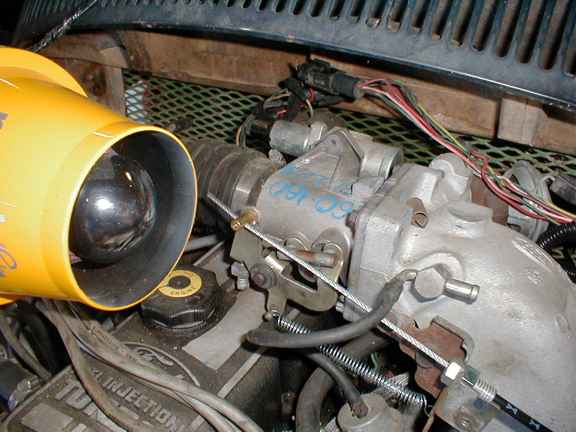
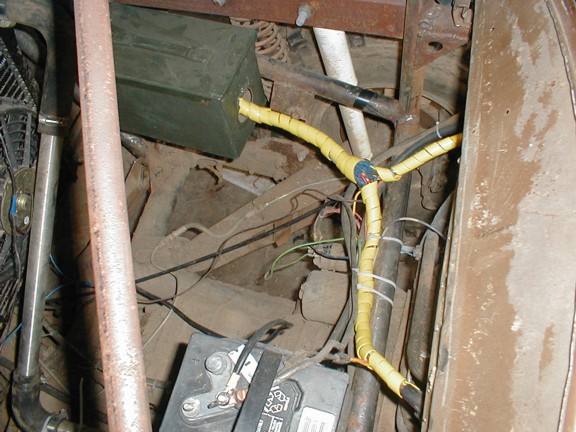
The fuel injection required two fuel lines from the tank to the engine with one of them being high pressure.  For the feed line from the fuel pump to the engine I used some 5/16" brake line with the 5/16" high pressure rubber fuel line for the connections on either end.  The hard line was run along the tunnel from under the tank to just above the tranny.  For the fuel return line I used the stock bug fuel line.

The tank required another fitting to be installed for the second line.  I opted to use the original smaller fitting for the return and installed a 3/8" fitting for the feed.  For this I used a plastic 3/8" barbed fitting with pipe threads.  A hole was drilled into the bottom of the tank and the fitting installed with plastic weld.  Plastic weld is an epoxy-like glue that melts the plastic slightly then hardens making the two pieces act as if they were one.


bc1coil7.jpg (27885 bytes) 
I made a bracket to hold the coil and installed it on the intake runner above the distributor.  A run to the junk yard to get a couple intake bends and I was able to make the tubes for the intake.  The MAF sensor was installed with some custom brackets and a shielded air filter was attached..


bc1turbowiring5.jpg (34341 bytes)  bc1turbowiring8.jpg (37513 bytes)  bc1turbointake1.jpg (29660 bytes)  bc1turbointake2.jpg (33281 bytes)  bc1engine.jpg (31718 bytes)  bc1throttle.jpg (30604 bytes)
The wiring is the tricky part.  After poring over the factory wiring diagram I found that I only needed the engine wiring harness.  The T-bird has two separate harnesses.  One for the engine and one for the chassis.  After hooking up all the sensors and other crap I had what you see above.  A RATS NEST.  Actually when the wiring is all stuffed into some split casing it looks pretty good.

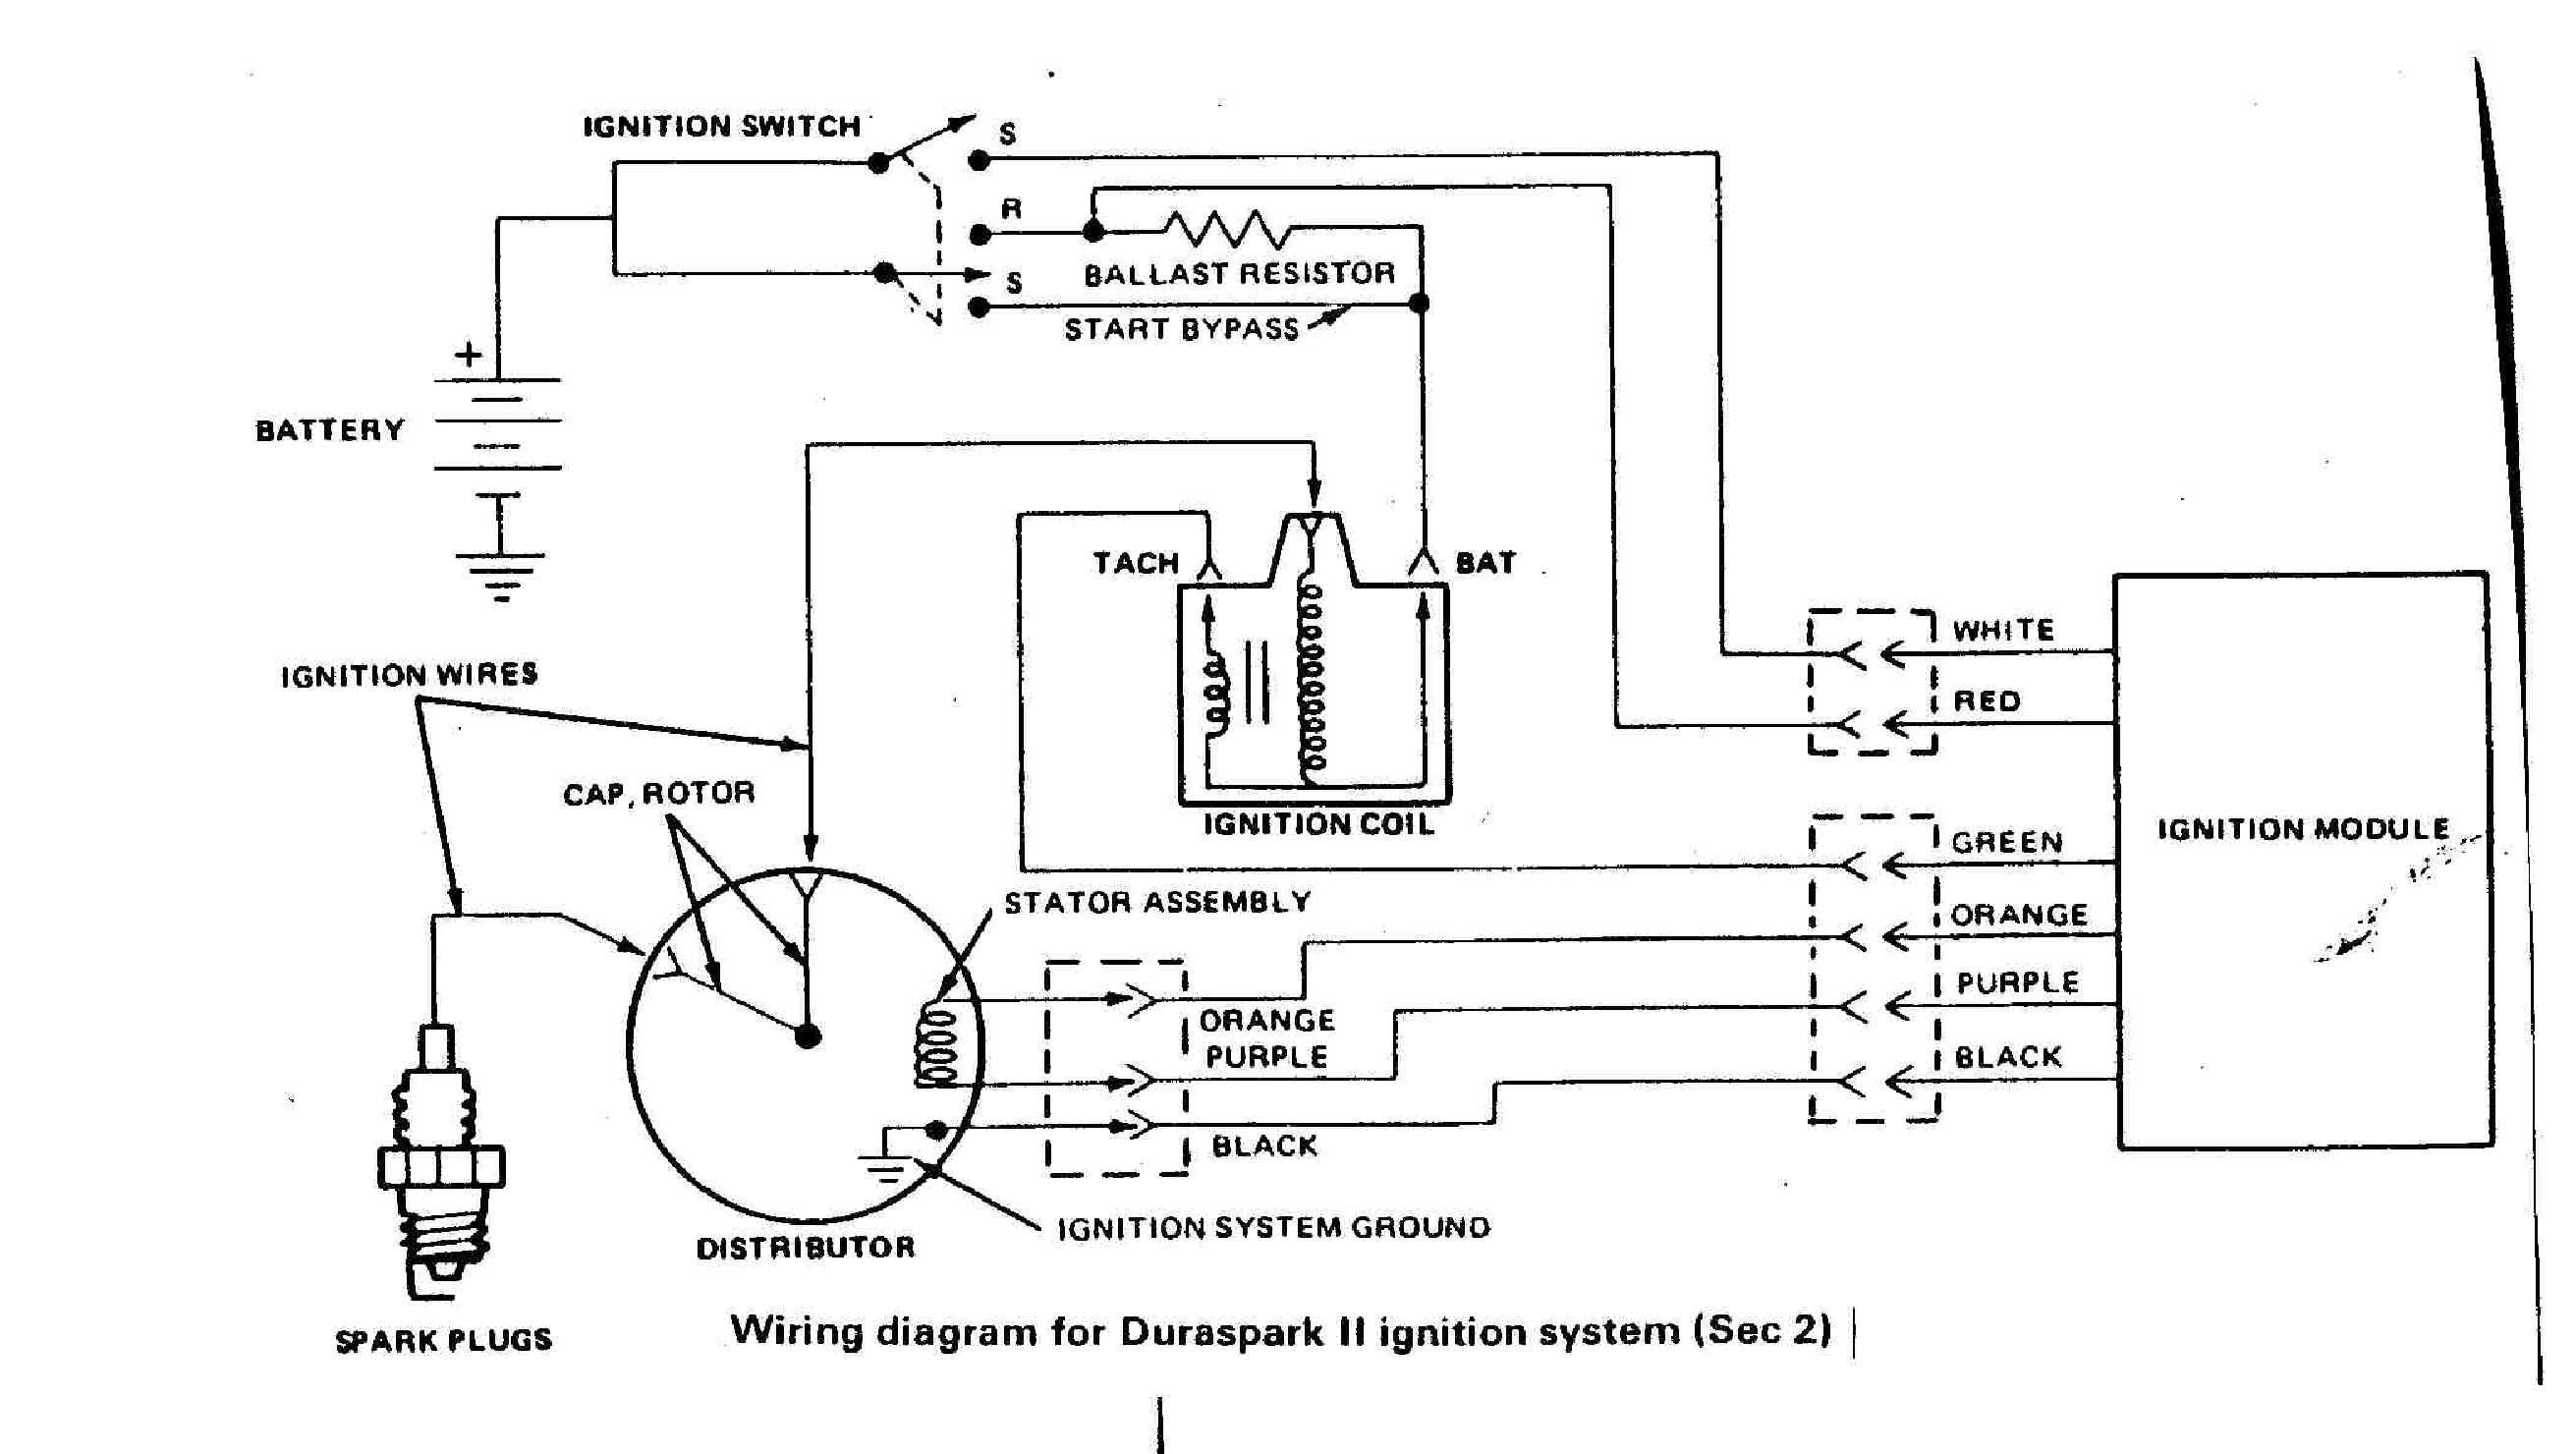
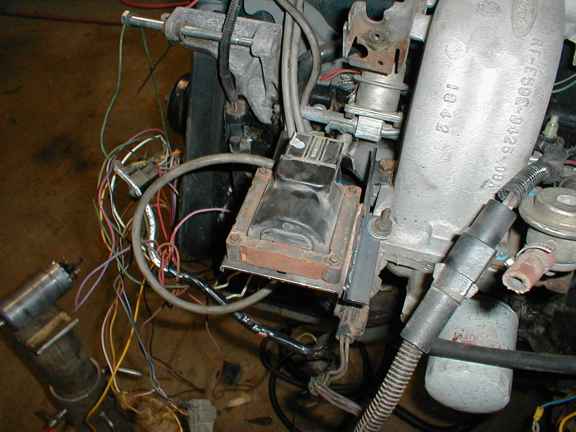
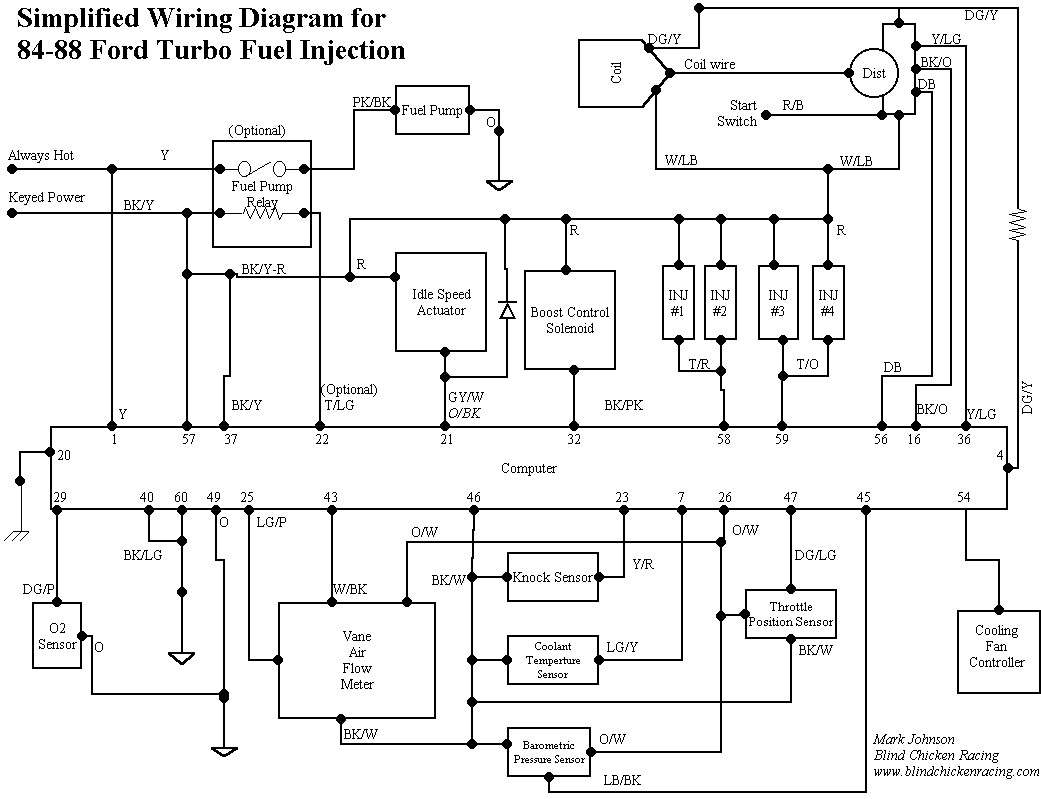
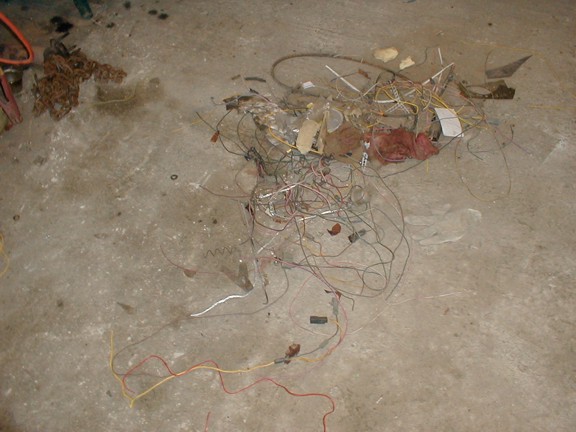
After hooking up the sensors I needed I was able to go through the harness and remove the excess.  There were a number of plugs and extra wires that I did not need so they went in the pile.

The final Wiring Diagram for the electronic fuel injection looks something like this.

t-birdwiring.jpg (146786 bytes)
TURBO EFI WIRING DIAGRAM


bc1ammocan.JPG (104194 bytes)
I mounted an ammo can from the local surplus store for the computer to the inside of the cage.  I am mounting the barometric pressure sensor and computer in there with some foam for vibration damping.


bc1doneturborear.JPG (85507 bytes)  bc1efiwiring1.JPG (91118 bytes)  bc1efiwiring2.JPG (82860 bytes)    
IT RUNS!!!!!!  After a whole lot of time messing with all this wiring, the engine finally fired up.  I had an error in my wiring diagram that gave me fits but as soon as I figured that half of the sensors were not getting power all was well (and yes the new wiring diagram is up).  As you can see by the pics above I was able to clean up the wiring harness  a lot.  


bc1extrawire1.JPG (63226 bytes)   bc1extrawire2.JPG (99181 bytes)
The pic of the wire on the floor was what I cut out of the final wiring harness, and the pic of the can shows the rest of the wiring harness that was scrapped.


bc1exhaust1.JPG (79726 bytes)  bc1exhaust2.JPG (80630 bytes)
The exhaust is going to be trickier than I had hoped.  The down tube at the turbo outlet runs right into my cooling lines.  I had to take the lines off to get the exhaust to work  Now I have to figure out how to route the cooling lines.  The glass pack muffler gives it a deep throaty sound that is really not all that loud.

Took the bug for a drive and that thing gets up and goes!  The bottom end is good but when that turbo kicks in there is a huge surge in power.  I need to do some final adjustments to get it to run good, then I will look into some performance improvements.


[ Previous | Next ]

The 2.3L Ford Webring hosted by RingSurf.
Promoting the Ford 4 Banger!
Click here to join.

[ Random Site | Home | List Sites ]


For problems or questions regarding this web contact .
Last updated: February 27, 2014.

All content on this website belongs Blind Chicken Racing and it's employees.  All use without prior permission is expressly forbidden.  Violators will be prosecuted.